
MacOS Bundles (and Packages) Explained
Table of Contents
When is a file more than just a file?
When it’s actually a folder that Finder is lying to you about.
Every program, every kernel extension, and everything Time Machine creates on a network share is.. a bundle.
Even the Photos Library file in ~/Photos… well you get the point.
Let’s unpack these things, shall we?
First, a little note: while I’m going to use the terms bundle and package almost interchangeably throughout this (following Apple’s own lead), there is a difference:
- A package is a directory that Finder presents as a singular file.
- A bundle is a package with a standardized structure that holds executable code and its resources.
But, yes, Finder does indeed lie to you. Of course, the natural first question is why? Well, since their main usage is delivering applications, they make for easy transport (since anyone who’s installed something knows the 1-step process), and they mean that users actually have to go out of their way to make breaking changes, like misplacing a critical resource file away from the app that needs it.
It’s possible to go on with a mac the entire time and not really every realize that these ‘files’ aren’t files.
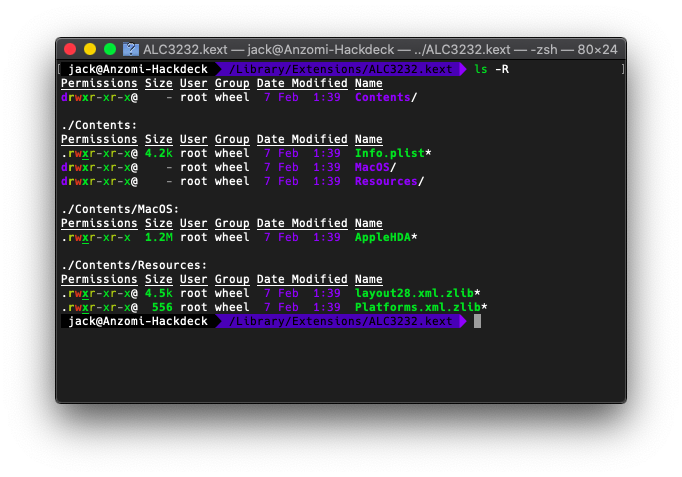
Even the ever-loved and ever-resented kernel extensions that Hackintoshers need… .kext files are packages:
Viewing Bundles
To view the contents of a bundle, there’s two main ways: Finder and the Terminal.
Terminal
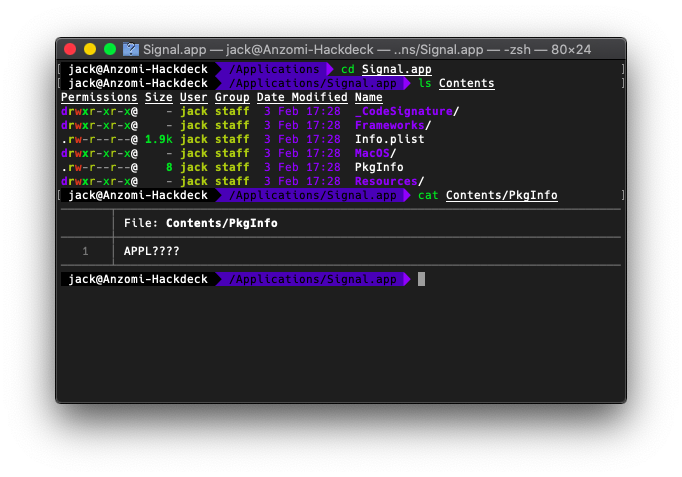
The Terminal never lies, it properly represents bundles as what they really are: fancy folders. It even shows the name extension that Finder hides:

And you can just poke around like a normal folder:
Finder
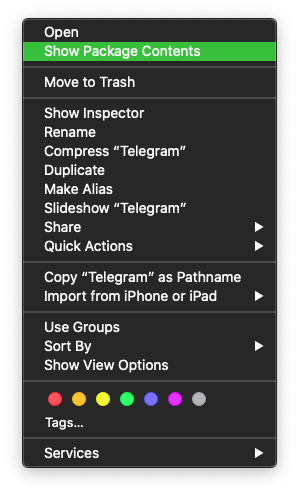
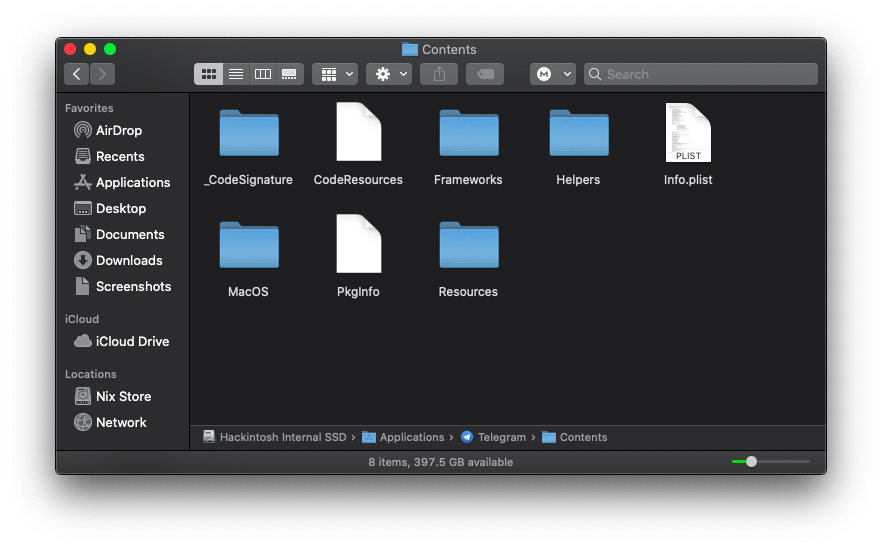
If you right-click (or ⌘-click) a bundle, there will be a new item: “Show Package Contents”, which you can use to open the folder like it was… a folder:
Making Your Own
There’s actually three ways to do so:
- Use an extension like
.kext,.app, or.bundle(not an exhaustive list) - Use an extension that a program has defined in its
Info.plistas a package type - Set the package bit (
b)
To put that second option simply, you need a LSTypeIsPackage key with an appropriate value in the CFBundleDocumentTypes key.
Really, if you’re a programmer that needs the feature, you already know about it, and if you’re anyone else, this all means nothing and you can ignore it.
For the third, you need (at least, the way I’ve discovered needs) the Xcode command line tools.
These will give you two commands: GetFileInfo and SetFile.
And yes, they are shell commands that are capitalized.
I’m glad that tab-completion in Zsh is a thing, and that Zsh is the default Terminal shell in Catalina.
If you GetFileInfo a directory, you’ll see this:
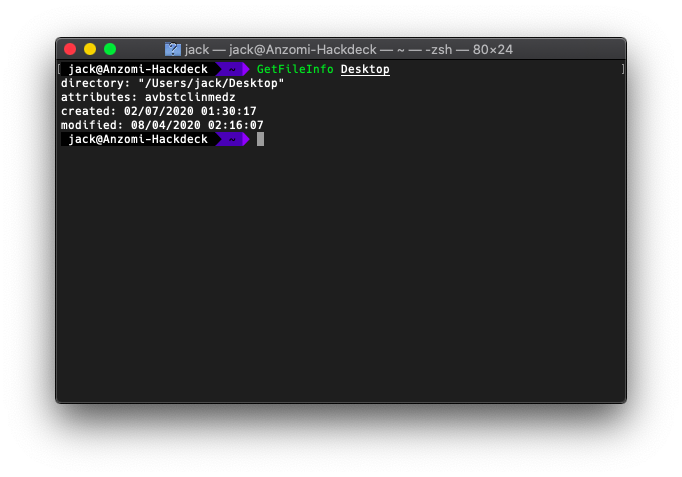
The most important part there is the attributes line, with that letter cluster.
Now, the encoding here is that a lowercase letter means that attribute is not set, and an uppercase letter means that attribute is set.
The only ones we care about right now are b, c, and later, e
To mark a directory as a bundle, say, the directory MyBundle, then run:
$ SetFile -a B MyBundle
Note: the space there is important, if you type -aB instead of -a B, you’ll get this error:
ERROR: File Not Found. (-43) on file: -aB
The folder’s icon won’t change, but it now has the “Show Package Contents” option, and double-clicking it does nothing. If you’d like to change its icon, we’ll get to that in a second.
Using the Extensions
Naming your folder with a name that ends in .app, .bundle, .framework, .kext, .plugin… all result in a bundle format.
Note that names are given special meaning, making a folder named MyBundle.app, for example, will just result in an icon that pretty much says “broken application”, and an error on double-click:

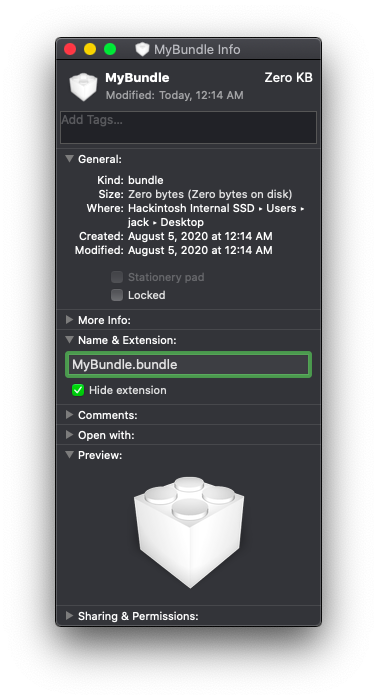
However, just .bundle has no real associations with it, feel free.
It will show the Kext LEGO-brick thing, and it will complain that there’s no app available to open it.
If you want to hide the .bundle suffix, you can either right-click, Get Info, and under “Name & Extension”, check “Hide extension”:
or, you can SetFile -a E MyBundle, because the e flag is to hide the extension.
There’s just one other thing to play around with here: custom icons
Custom Icons
This is where the c attribute that I mentioned earlier comes in.
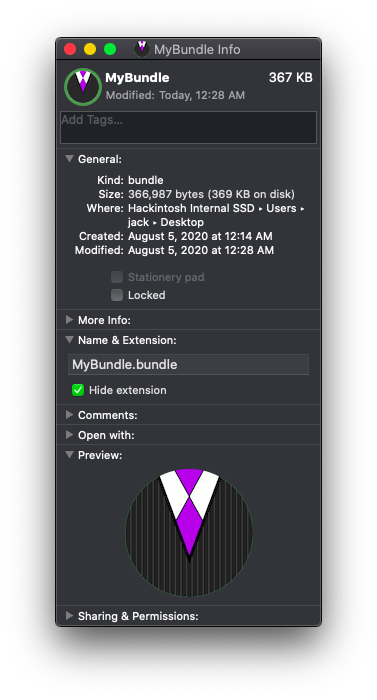
If you look closely, in the top left corner of the Get Info panel, there’s a little thumbnail of the folder’s icon. This can be selected. If you click to select it then press ⌘-v to paste, it will swap out the icon for the image you just pasted in. Note that, when selected, it can also be copied as image data, making it possible to copy the look of one app or other file onto another.
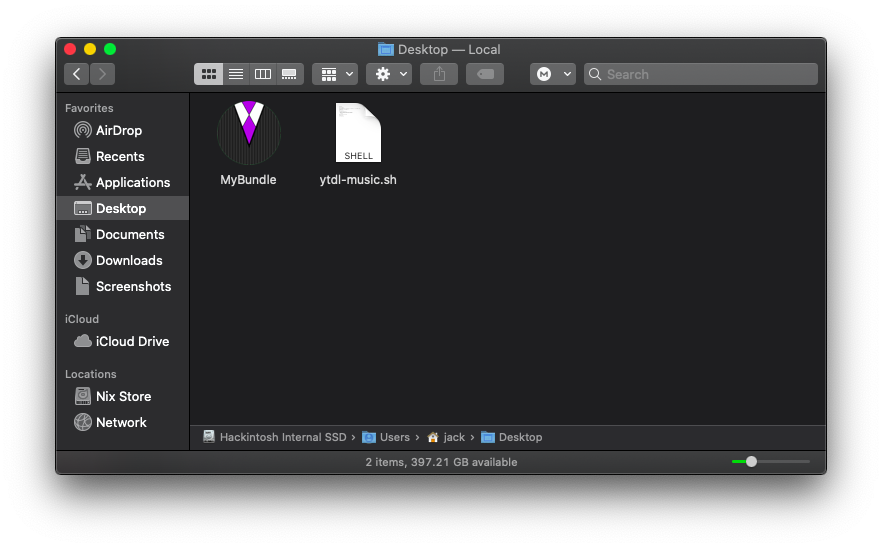
Take, I don’t know, my logo:

If we double-click to load that in Preview, then ⌘-a to select all, ⌘-c to copy, go over to the info panel for the bundle, select the thumbnail, and ⌘-v to paste, we get this:
And if you ever want to revert it all back to default, just SetFile -a c MyBundle to clear it.