Some Random Nintendo Switch Accessories
Table of Contents
Disclaimer: this was literally just an excuse for me to calibrate my camera with Switch pictures. As long as I’m going it, I figured I might as well be productive.
While, in my opinion, good by itself, the Switch definitely cranks up the awesome factor with a few extra accessories (yes, even in 2020). Let’s talk about a few.
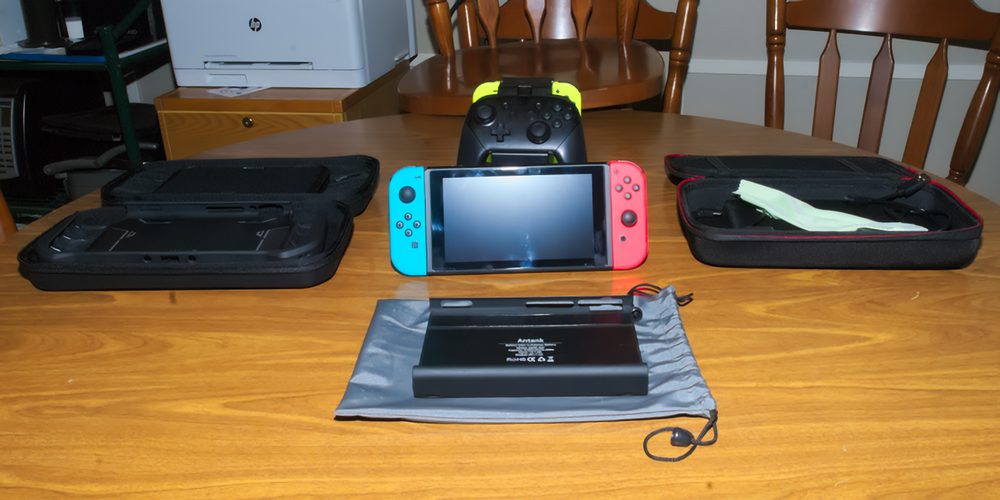
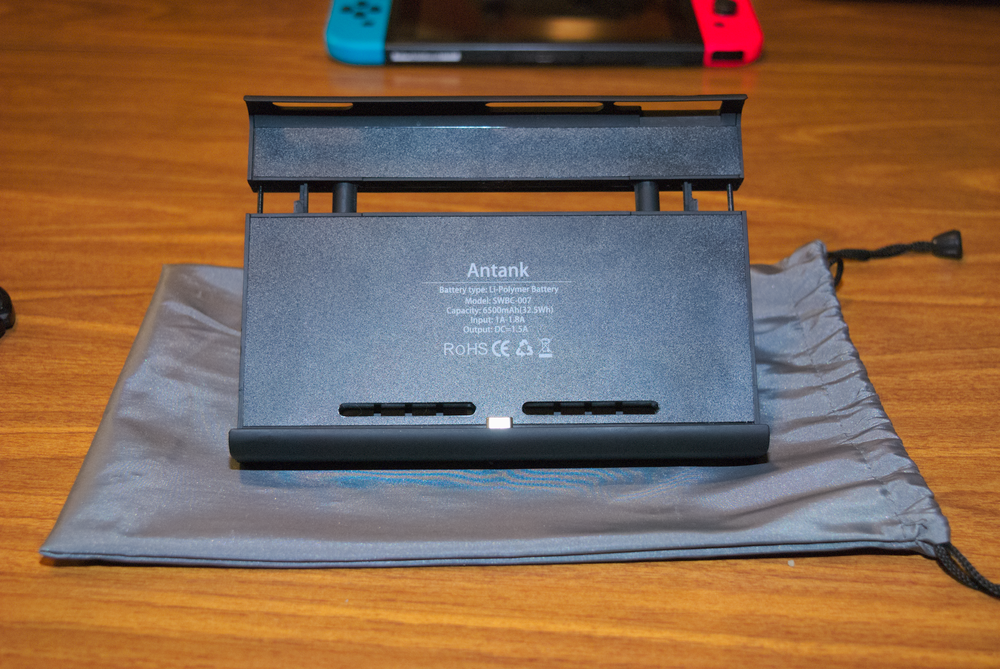
Antank Battery Pack
Capacity: 6,500 mAh.
This thing clips onto the back of the Switch, and charges through USB-C, meaning that you can charge it with the Switch AC adapter, or if they’re connected, it will pass through some of the power and charge both at the same time.
There’s cutouts for everything that you’d need to access, though if you’re a fan of physical copies over digital, it does take a little to figure out the way you need to bend your finger to get the slot cover open, and then it’s still a tight fit since it can’t bend back as much.
The top section feels a little thin, it can flex, but as long as it’s actually attached, it’s fine.
It also comes with a little drawstring bag for the pack itself, though it can fit the entire switch, albeit barely.
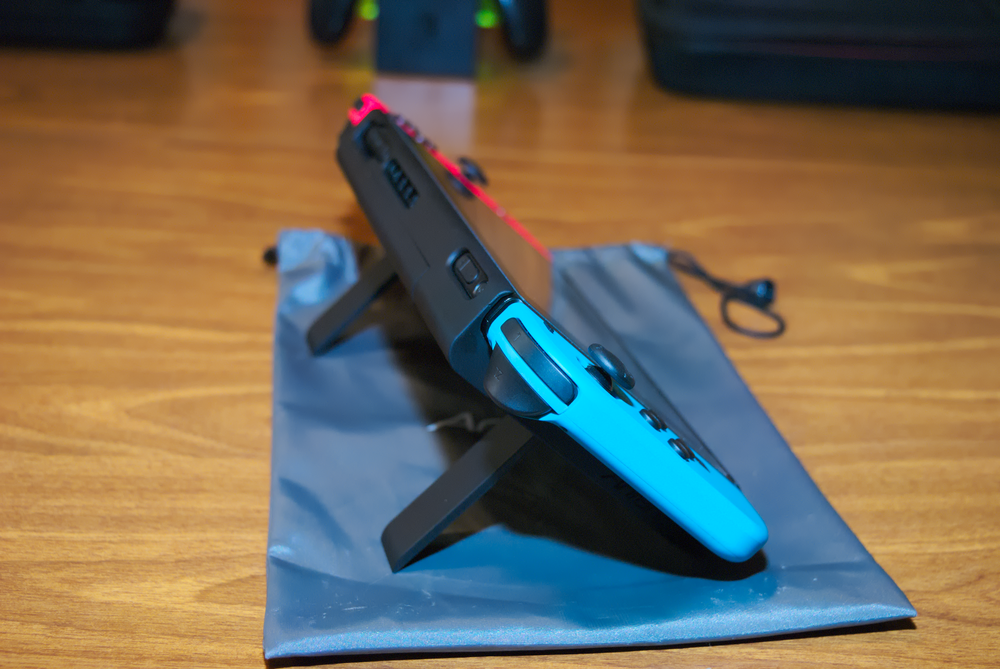
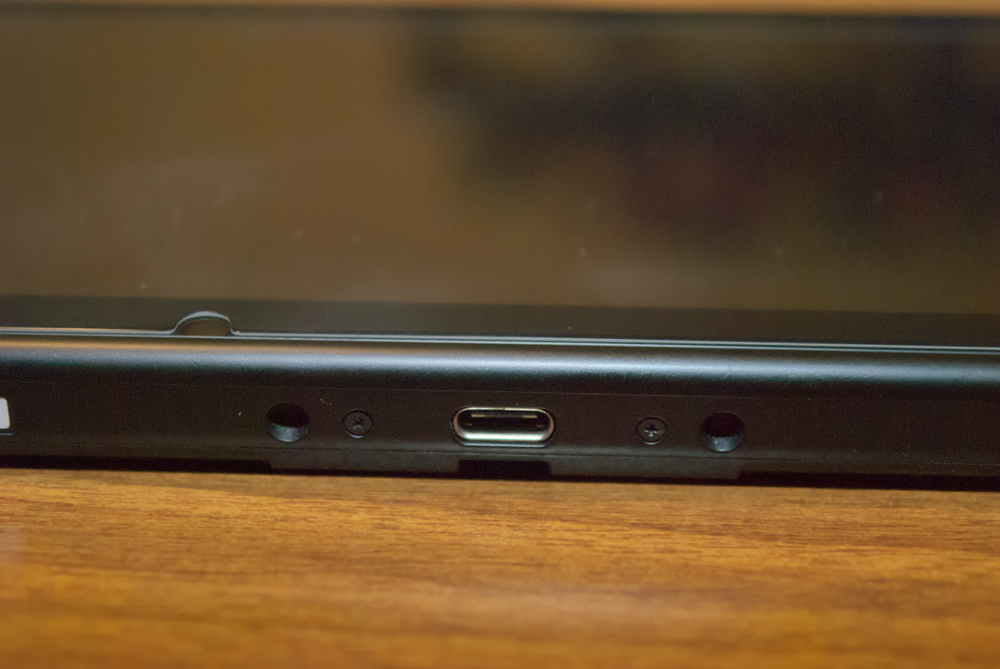
On the back are two stands with three(!) different detents for angles, which I like because the built-in stand on the Switch itself doesn’t go as far bask as I like, meaning I’m usually a bit above the screen and not straight-on to it. Also on the back is the power button and four indicator lights representing charge. They’re even shaped like lightning bolts. One issue though: the flashing pattern when charging is… I really have no clue, it changes from fast, to slow, to flashing all the icons, then just one… it’s weird but whatever works, I guess.
Above each stand is a little button to release the spring-loaded latches. Press both, the case pops up a little, put the Switch in and slide it over the USB-C plug, and then push the case back shut until it clicks — and I’ve just doubled or even tripled my game time with the thing.
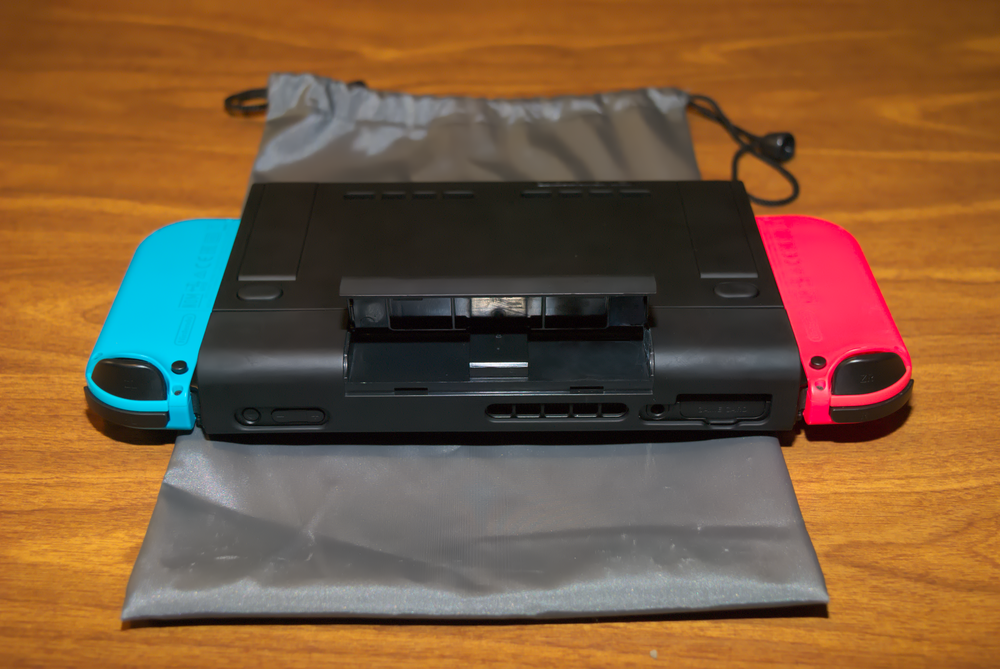
It also has a tiny little storage compartment that can hold two game cards. This is technically the fully open position, if you try to move the lid any further it will snap off the tiny peg that holds it in (learned the hard way, the giant mess of white superglue stains was digitally removed just for this picture). If you do snap the lid off, well, unless you block the action when it’s unlatched, the spring force that separates the two parts can and will fling that little plastic bit halfway across the room before it’s contents have fallen out, hit your hand, and bounced across the floor.
Minus that, it’s a little boxy, though has a nice smooth matte material that feels just barely softer than the Switch itself, but definitely a piece of mass-produced plastic. It doesn’t feel as fragile and easy to mark as something that might be polished to a mirror finish.
The sudden corner created by it is something that your fingers might run into, likely decreasing surface area on which you’re gripping an already slippery console, but the material choice does have a it of friction, so maybe that evens it out, I can’t speak for everyone.
Mumba Blade Dockable Case
There’s a few cases that Mumba makes, but this one comes in two variants: the blade series and the battle series. It’s kinda like an OtterBox for the switch: pick between defender (blade) and commuter (battle).
I have the blade series. While offering slightly less protection and durability, it does have one cool trick that I’ll get to later. The battle series case is much thicker, stronger, and has a built in stand. This one actually blocks use of the stand while it’s on.
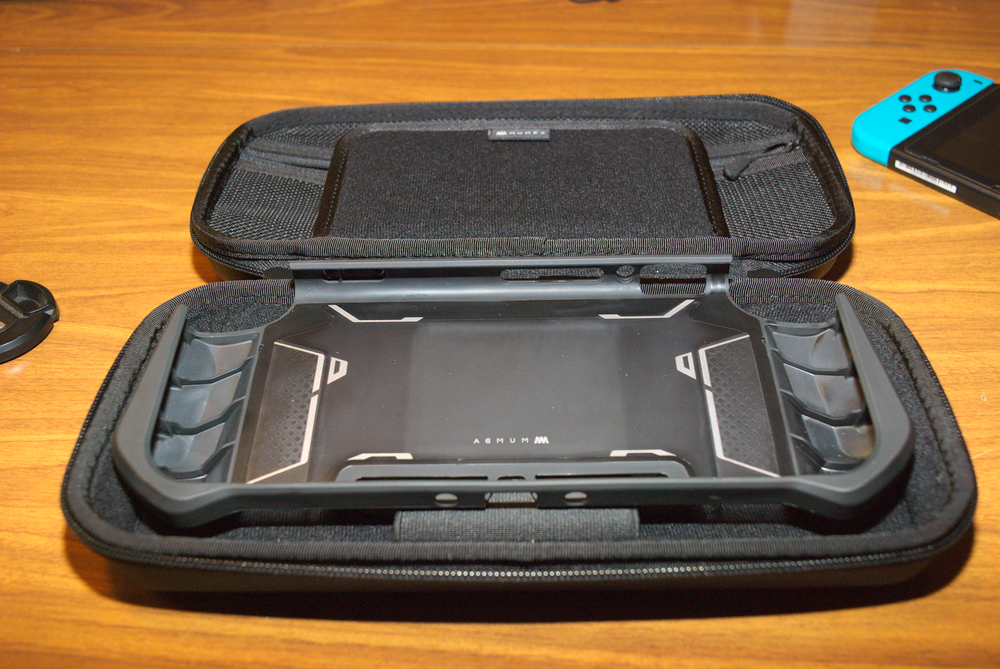
The case itself has a carrying case with a little zipper pouch in the lid, storage for about 20 games (there’s two flaps up top), and a wide Velcro strap to keep the Switch in the bottom and not flopping around loose.
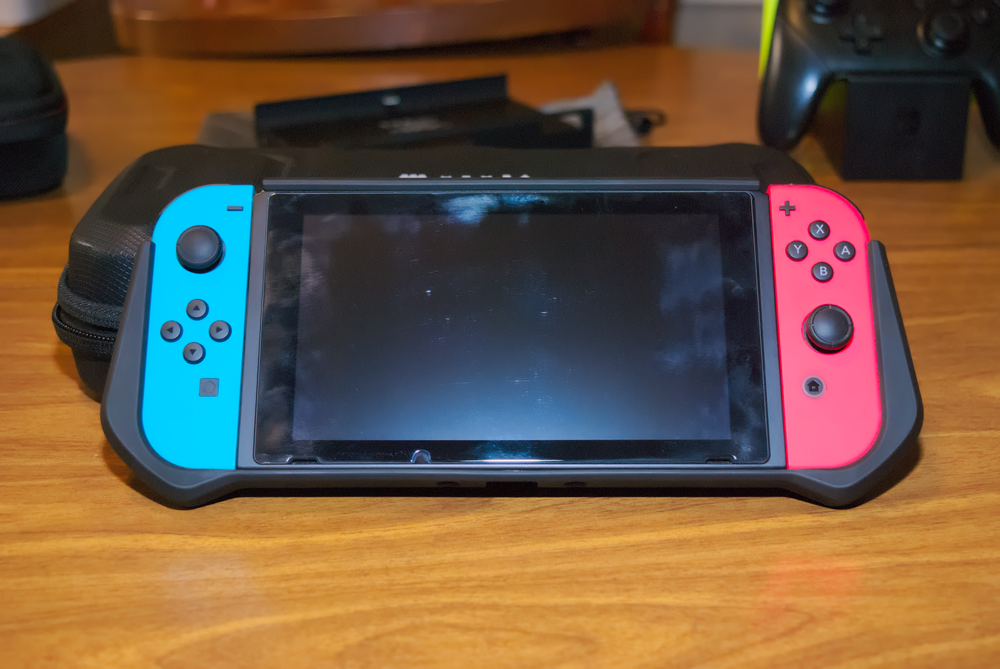
Both are slightly flexible, shock resistant plastic, though they have a rubber-like feel, very easy to hold on to, and not likely to slip out of your hands.
It adds a few more angles onto the Switch, and in my opinion fits the hand a little better than just the stock rounded square and extremely flat Switch by itself.
More visible in the first picture, there’s cutouts at the top for the headphone jack and card slot, and this time it doesn’t obstruct it at all. There are no cutouts for the power and volume buttons, instead it provides buttons of it’s own that press on those, again, OtterBox style.
For me, the power and volume up buttons still have a little tactile click, but the volume down one is likely misaligned enough that I can’t feel any movement, the only feedback I get is the visual indicator on screen.
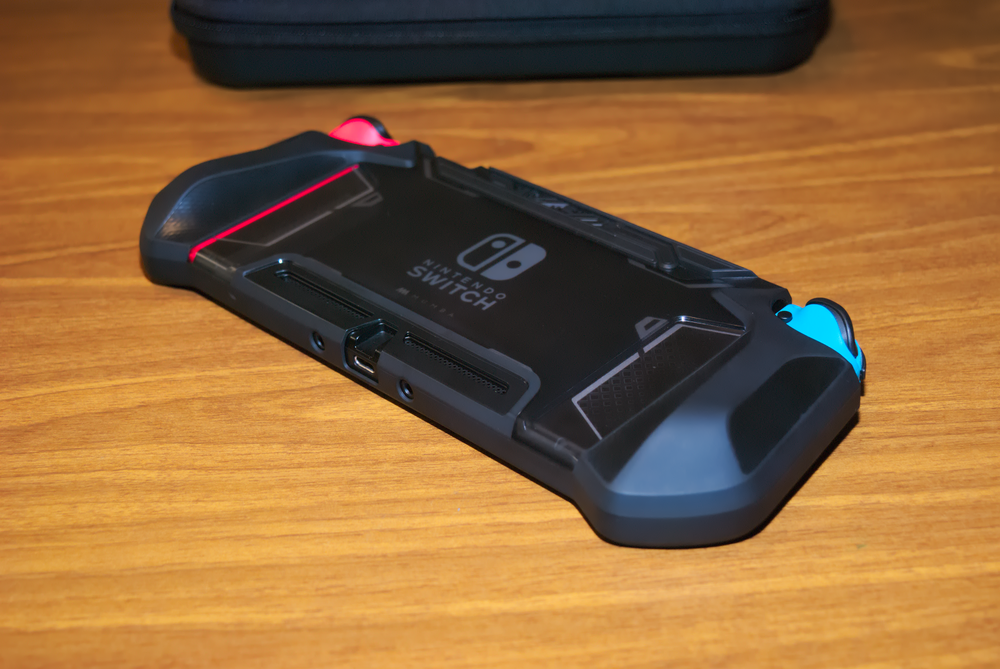
The back is translucent enough for you to see through it (there’s no logo on this case, that’s on the console and showing through). And as you can see, there’s a substantial grip there to keep your hands firmly planted where they belong, and the Switch in your hands like it belongs, not in your lap, or on the floor.
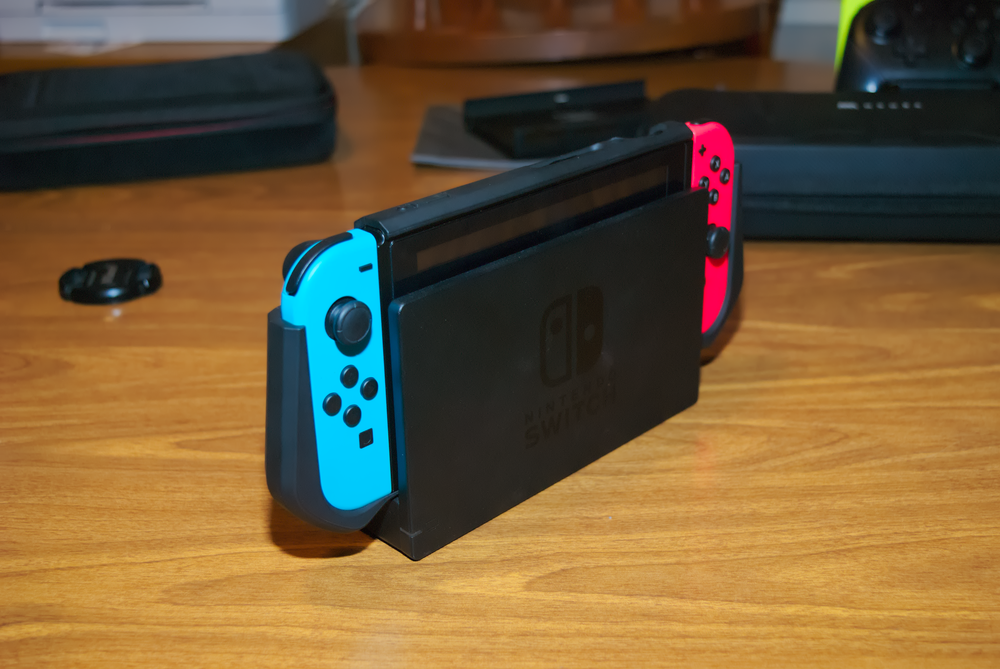
And if you can’t tell by the cutouts at the bottom…
It actually fits, and this is the main selling point: you can dock the Switch with it still on. It’s a very tight fit, you cannot just lift the Switch out of the dock, you do need to actually push that down for it to slide free, but it can dock. If the alignment isn’t perfect you’ll only notice when it’s not all the way down or not connecting, usually a little shifting left or right will produce a click as the dock’s locating pegs find their home.
Liboer Charging Carrying Case
Capacity: 10,000 mAh
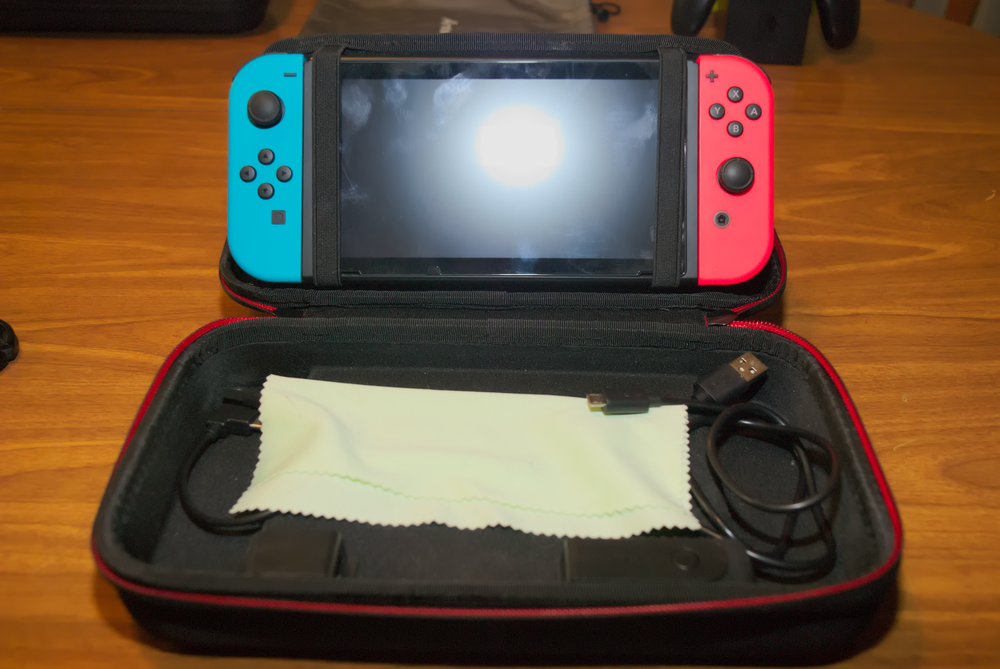
A surprisingly large amount of capacity for something this sized, this fabric case comes with space for 8 games, an integrated stand (the lid is flat in that pic), and, well, a battery.
Included is a yellow screen cleaning cloth, a right-angled regular USB to USB-C plug for charging the switch, and a longer USB to microUSB cable for charging the case itself.
Charge status is provided by four lights when it’s on, and it will turn on and off automatically when you plug or unplug something, though usually I manually hit the power button to turn it off.
The case has two elastic straps that the switch can slide into, using the middle flap as a makeshift stand. It’s also deep enough that you can close it from that position above, and there’s enough room for everything to fit comfortably.
If you haven’t noticed by now, I really like my batteries. Besides more playtime, I also have one of the first generation Switches, with the shorter battery life, and I’m just not comfortable yet with taking it apart to perform a battery upgrade. Maybe one day though, I will and I won’t have as much of a dependency on external power storage.
PowerA Joy-con and Pro Controller Charging Dock
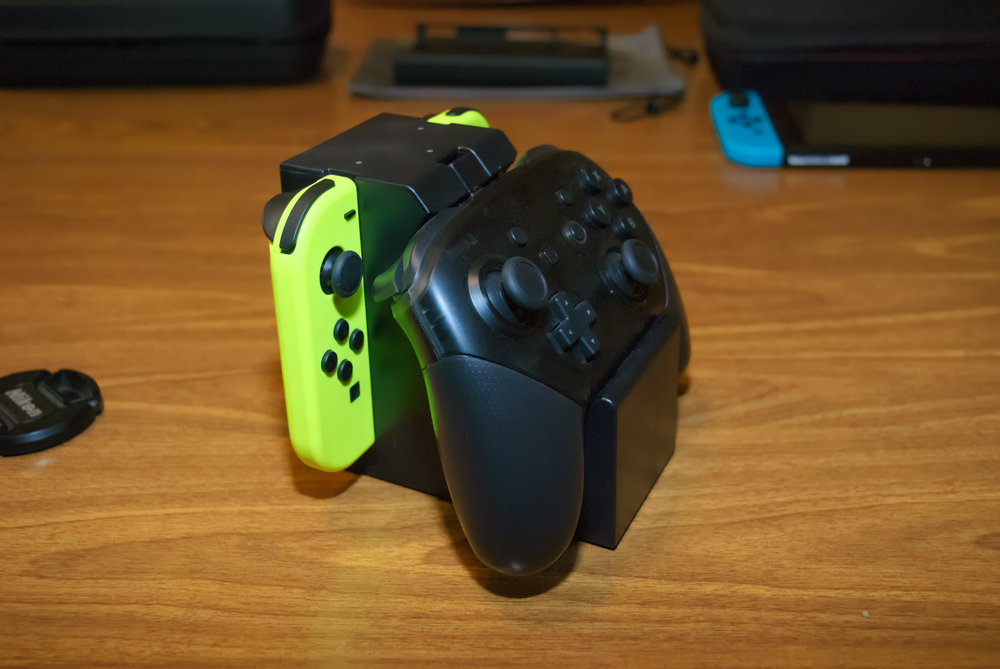
Ahh, PowerA. These things are charging docks that can charge a pro controller and two joy-cons at once. Three lights on the top change from red to green to indicate status, and they have just a plain USB plug, meaning then can be plugged right into the Switch dock itself.
Do pay attention to the top of the pro controller: the pro controller charging space is actually a zero force system, because there’s a little plug that plugs into the controller (ideally permanently, but it’s just USB-C, you can remove it), and goes down a bit before terminating in a few copper pads that contact pins inside the dock, and gravity keeps them connected. Unlike most pro controller docks where you have to stick it in upside down, this one lets you put them in right side up and with no force required, for the small downside of a little plastic piece on the top that doesn’t really get in the way of, well, anything.
Do note: Don’t plug multiple into your switch dock. From what I can tell, it seems that the dock can’t reliably supply enough power to charge four joy-cons and two pro controllers at the same time, you’ll see a lot of flashing as the devices keep restarting over and over again. Just stick to either one at a time, or get an externally powered USB hub and plug them all in there if you need it.
Screen Protector
I’m sure you’ve noticed it by now. Almost any device I own has some form of screen protection. That’s an amFilm protector which is a sheet of tempered glass, meaning it’s actually rigid and not just a flimsy piece of plastic.
It will develop a small mark in the corners do to the dock, and depth tolerances, but it’s not ugly really, more just like a fingerprint / smudge in the corner that you can’t 100% remove, but a microfiber or screen cleaning cloth can make it a little better. Besides that though, it really doesn’t interfere with much, though it might bug you if you don’t put it on centered and square.
…There’s not much more to say, it’s literally just a piece of glass. Next.
Bluetooth Audio Adapter
This one I don’t own, yet.
My headphones, as wonderful as they are, have one major downside: The cable is far too long for using it with a Switch and not tangling something up. They’re Bluetooth headphones, and I know the switch has a Bluetooth radio (joy-cons!), but it cannot, by itself, connect to Bluetooth headphones. There’s a few companies that make adapters that plug into the charging port, and I really think that having a Bluetooth adapter would be nice. Some adapters even support things like dual streaming, aka “connect two pairs at the same time” so both you and a friend can keep the sounds of your intense smash battle to your own ears.
Semi-related: Mini Keyboard
Not really a switch accessory, but coming from PC (the Switch is actually my first console I’ve ever owned), I found myself really annoyed with trying to type out screenshot captions, or enter my password for the store, using an analog sticker and an on-screen Keyboard, especially when I’m around others, where they could very easily have enough time to write down each character as I have to slowly move along, one by one.
Well to solve that, I just grabbed a mini Bluetooth keyboard. I went for a Rii Mini because it’s just absolutely tiny, but anything that has a USB receiver that can plug straight into a device and act like a keyboard works just fine.
Now, I can use my normal, albeit cramped, typing skills if I’m entering something, and the keystrokes don’t show up on the OSK, meaning nobody else can see what I type.
For screenshots it does still try and do the autocorrect / predictive text thing, meaning that it can take some fiddling to get it to enter what you want, stop undoing your changes, and just accept the dang text box already.
The thing is just so small I can put it really anywhere, and it’s not taking up any appreciable space.
